Just another quick Hi to wish everyone a very Happy New Year!I've been so busy over the "holidays"! I haven't done one crafty thing.I haven't even had a go with my new craft robo yet (boo hoo) but I can't wait!I really should do something though as Holly is being Christened on Saturday and I haven't got a card made for her yet.Anyway, gotta go and get some beauty sleep!Again - Happy New Year - wishing you lots of love and luck for 2009!And I'm looking forward to a new year of blogging fun!! ;)
Just a very quick visit to wish everone a very merry christmas.I haven't had a chance to visit anyone much lately so I hope you all see this greeting.I hope Santa was as good to you as he has been to me (I must have been a very good girl this year!!) I got a Craft Robo!!!I can't wait to get playing with my new toy!!
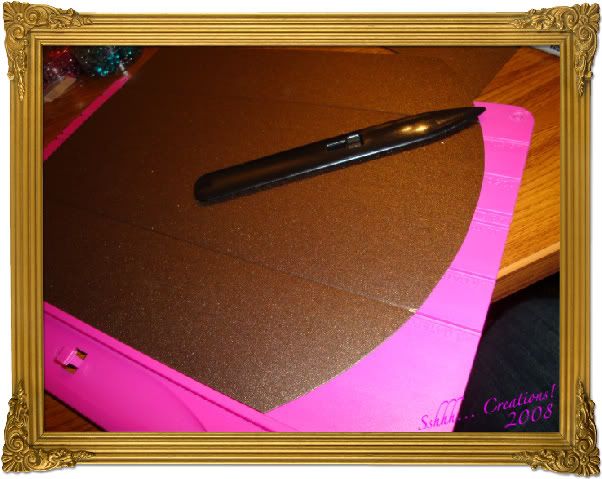
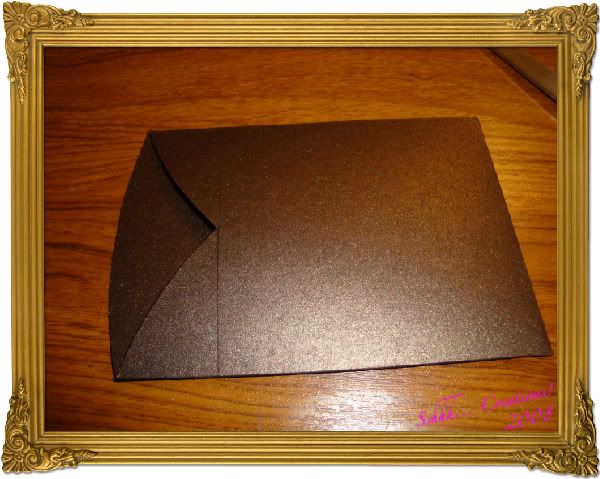
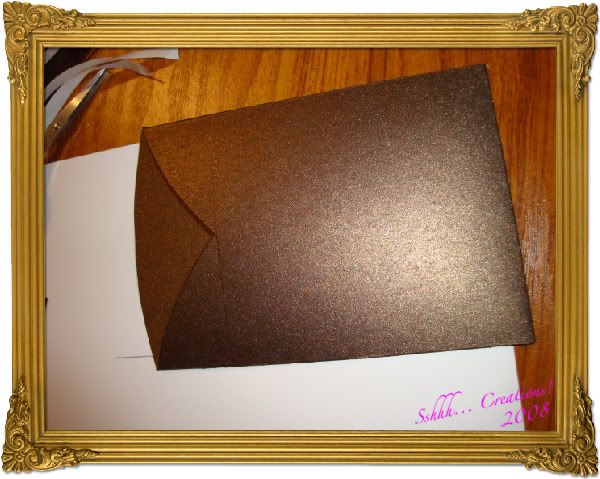
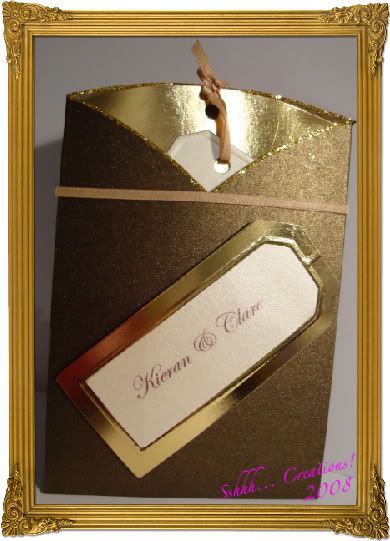
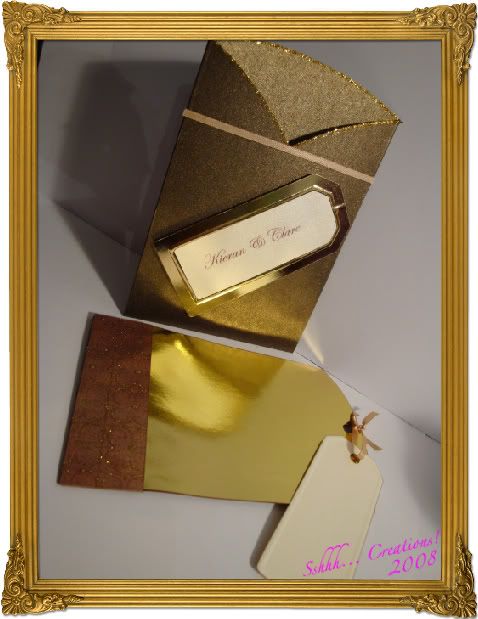
Isn't time flying!!! And I'm so busy lately that I've hardly had time to make anything. But I was asked to make a money wallet with a letter in it from Santa, I could hardly refuse the big man could I!!!This is the outside of the walletAnd this is it opened outWith this letterAnd this is the backI couldn't put my usual name on it as it was for a special customer!
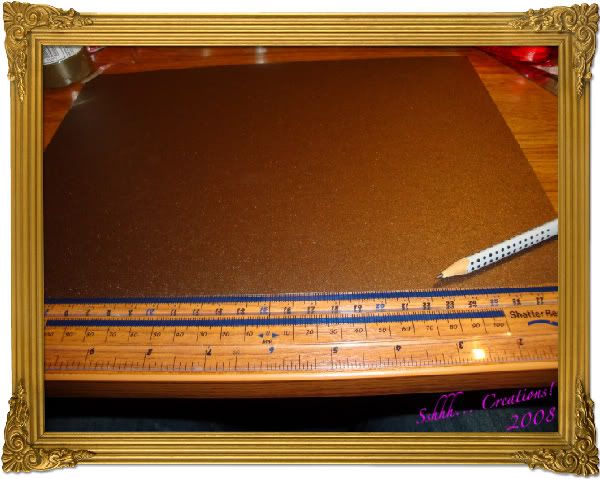
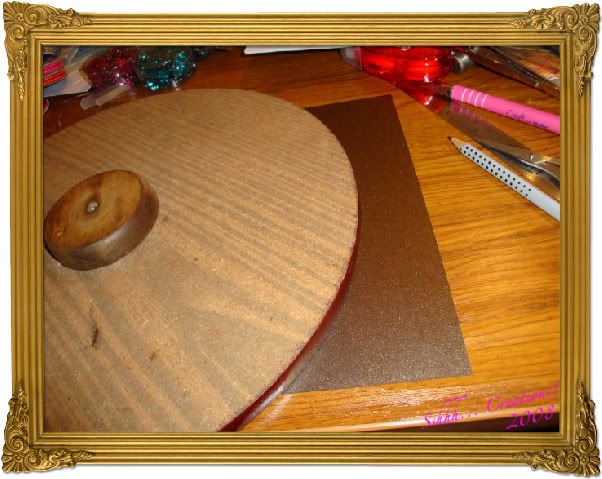
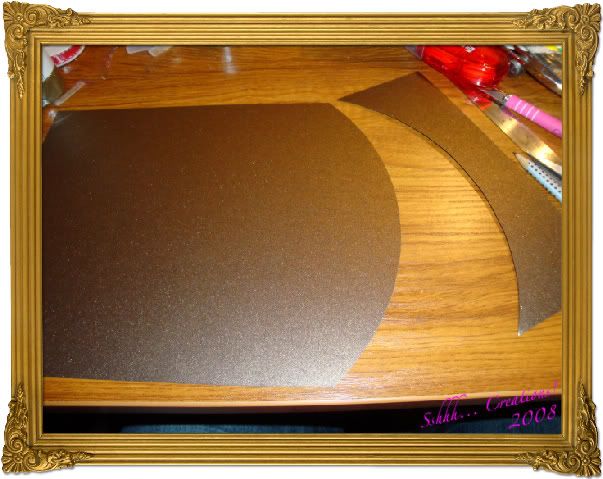
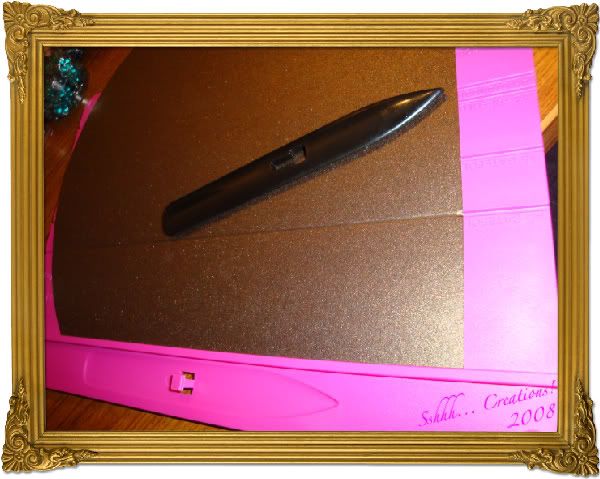
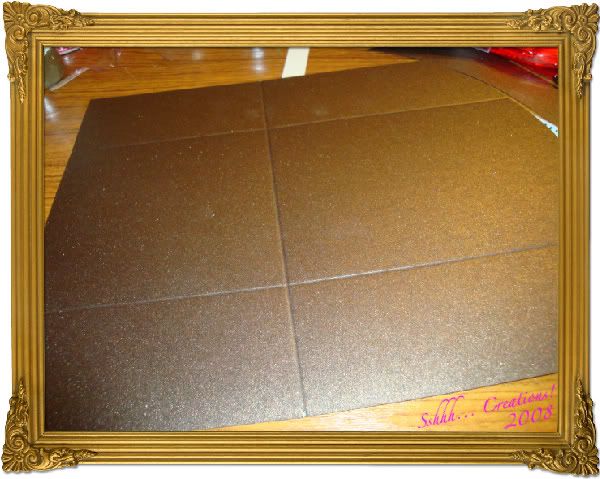
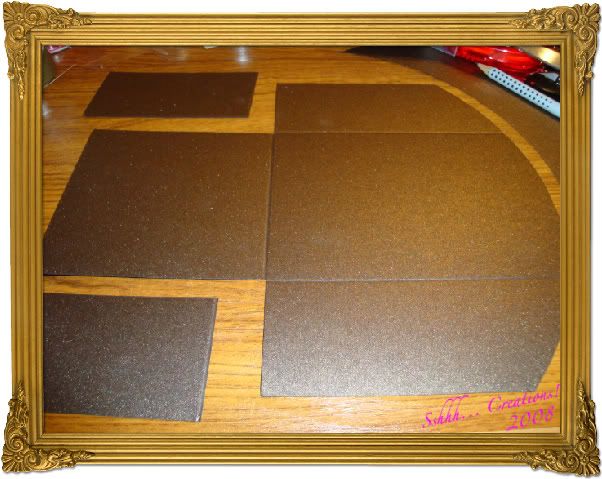
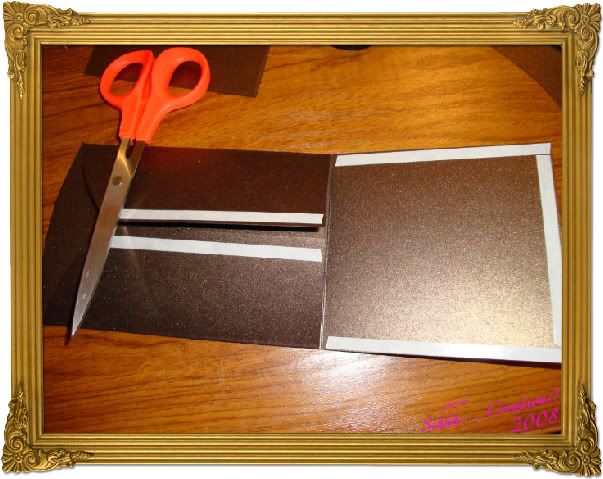
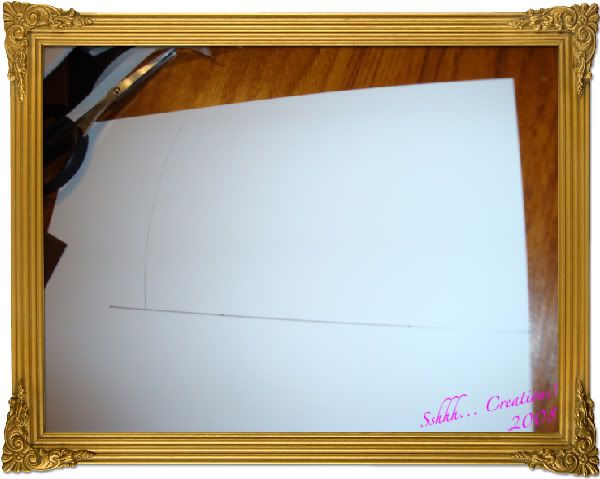
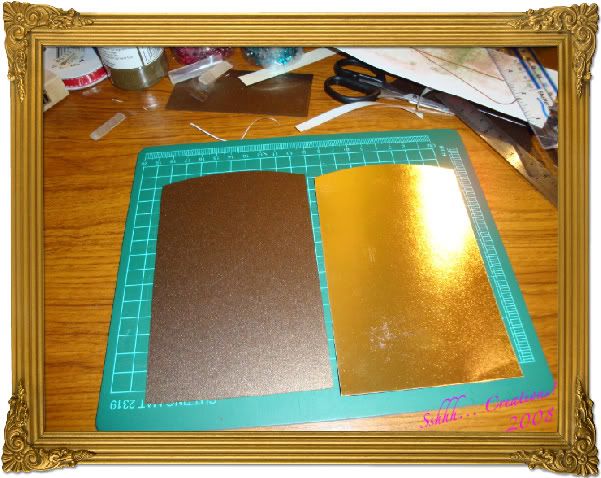
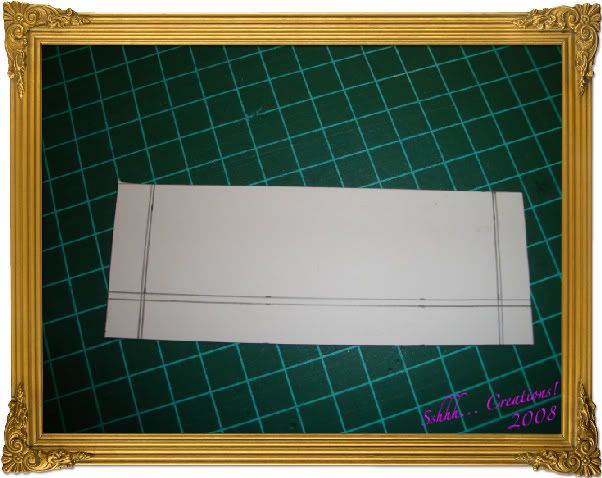
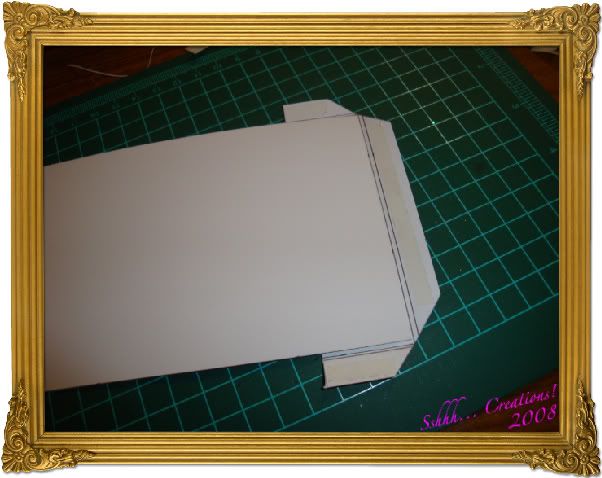
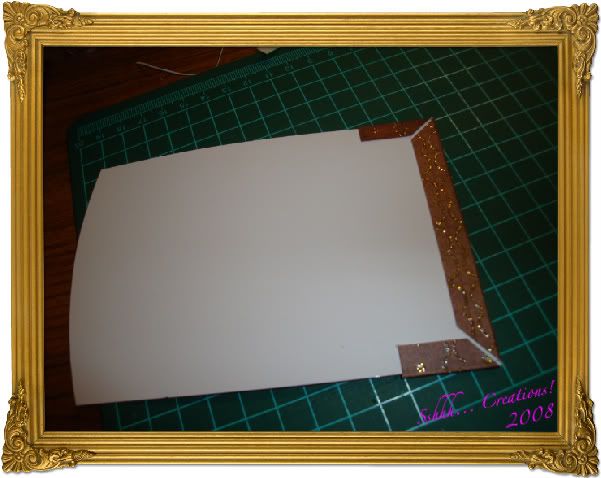
I used a sheet of A4 card and scored it at the 12.5cm scoreline, folded it and butted the fold up and scored another line at the 12.5cm mark. I then trimmed a small amount off the edge of the longest flap and folded it all up and I had the basic envelope shape.I matted and layered everywhere - I almost started doing it to the cat!!On the inside middle flap, I added 2 strips with brads. I made these about a mm longer than the mat so as you can slip some money under them.I added some clear sakura stardust pen here and there and printed Santa's letter onto vellum.I had tried to do the closure with magnets but it was too thick so I added the ribbon (although I have a very limited selection of ribbon at the moment - that's one for the january sales!!)I was happy with the outcome - I wonder if the recipient will even notice the packaging or will the present get all the attention!!Anyway, best go - it's now 5am!!!
I went to make a card for Holly - which I thought would be easy given the fact that she has quite a festive name! But I found it quite hard to make holly look babyish.This is what I came up with:I have added an extra piece of silver mirri on the inside with more holly stamped and coloured with sakura glaze pens. I added this after I had given the card to Holly never mind after I took the photo!!I had the "Holly" wording which came with the bauble stamp from Joanna Sheen, and I stamped and embossed it with sticum powder and stuck pink glitter to it. The baubles were stamped and glittered onto acetate and slotted through each other to create a 3D type bauble to hang in the aperture of the card.The sentiment was printed onto pink vellum and (working quickly) I applied the sticum powder and glitter to it.It wasn't quite what I was looking for but I suppose it turned out OK.I hope you like it!!
I can't believe it! I've never got an award before!!Thank you so much to Chrissie for thinking of me. I haven't even been blogging for very long so I'm really thrilled!So now for the rules, which are:Link to whoever gave you the award and pass it on and link to 5 others.
You also have to write down 5 things you are addicted to!1. I have very quickly become addicted to blogging!2. both the MAC and JS forums3. Crafting (whenever I can get the time)4. Buying craft stash (which is a totally different addiction to actually crafting!!)5. My family - and especially at the moment with my nephew Ryan and new niece HollyAnd now I have to pass the award on to 5 others. This is a difficult task. Not because I don't think everyone deserves it but because I think everyone does deserve it!Hmmmm.So, my five are (in alphabetical order)Andria, Calvin, Irene, Maddy & Suzanne
Just for a change...Well, actually, I haven't shown any christmas cards on my blog yet so it is a change!!!I made this one for my goregous wee nephew Ryan, and I was really pleased with it!I used stamps from Sugar Nellie and backing paper from DCWV with white and blue glitter cardstock. I also made a wee dangly charm by stamping the snowman on shrink plastic and coloured it with Sakura stardust pens (remembering to punch a hole through his hat before I shrank it!) and I attached it to the card with jump rings through an eyelet.I coloured the images with H2O's and made the sentiment with my nestibilities and another Sugar Nellie stamp.Here's a side viewAnd a close up of the wee charmI think I was more excited about giving him the card than he was about getting it - although he is only 1, so I'll let him off this time!!Thanks for looking!
My hairdresser wanted a money wallet too so I made this one to match the card...
I love making these, mainly because I can make them to match the card, but also because they're just fun to make!Thanks for looking!
I was asked by my hairdresser to make a wedding card, and I thought as she likes things a bit different and funky, that I'd steer clear of the usual white/silver wedding card style. So I came up with this...
Again, it's in my current favourite shape and I used papers from DCWV "once upon a time" stack. I thought the "Happily ever after" wording was just perfect for a wedding card! I also added some paper flowers (which I can't remember the maker - I'll try to find out later!).This is the inside...
And the box to put it in...
I like to keep my boxes fairly simple and keep the surprise for whats inside! I did emboss some florishes at the top of the box with holographic powder which doesn't really show on the photo :/It went down a treat - I was a bit worried as it's not your average wedding card - but my ma said that if she (the hairdresser) didn't like it, she (my ma) would take it! Sorry ma, I'll just have to make you a different one!Thanks for looking ;)
I was invited to a friends 30th birthday party and as she was turning 30, I thought that would require a really special card. So I made one in what has become my favourite style of card to make lately!Again, it's A5 gatefold with holographic embossing down the right "gate" and hidden magnets and I used papers from DCWV "all dressed up" stack mounted onto silver mirri. I also added a few gems too.This is the inside:
On the inner panels I coloured a flower on each (flowery) square with a clear sakura glaze pen for a subtle touch.It's always nice when people recognise the work you've put into a card - and she did! She couldn't get over the weight of it to start with - it's a good thing I wasn't posting it!!I hope you liked it! I've almost finished my christmas cards - that was a slog! So I'll hopefully soon be adding some of them.
I made a card for Ryan - saying as Holly was getting all the cards and pressies - I didn't want him feeling left out!I saw the image on (you guessed it!) Joanna Sheen's Baby love CD and I thought it was just perfect!So it was very simply mounted onto silver mirri with a piece of ribbon and a sentiment added and attached to pale blue stardream base card.
He seemed happy enough and I let him work away with it, it just got a little bit bent up!I also got him an "In the night garden" book which he also loved!
This is the last card I made for Holly. I made it for my little sister Rachael to give even though it is by far my favourite of the three - but hey that's me! (Sinead knows I made them all anyway!!)
I used punch stardream card and made it into an A5 gatefold card. I stamped and embossed a flower stamp with holographic embossing powder down the right flap. I then used an image (again from Joanna Sheen's Baby Love CD - I've got my money's worth from this CD!!) and decoupaged the little girl and the balloon. I also added some pink and white sakura glaze pens and some clear sakura stardust pen over the dots around the picture - the glaze pens leaving a slight texture.I mounted some of the corresponding backing paper onto silver mirri card and attached it to the left flap.Then I placed a magnet on the inner right flap, closed the card and more or less just dropped the other magnet on top. I made sure that the magnets would be placed where they would be hidden.I mounted the image using foam pads over the backing paper and hiding the magnet. I also added a couple of sentiments.For the inside I mounted some silver mirri and some more of the corresponding backing paper on the inside of the flaps - hiding the other magnet.I also made a little waterfall piece also mounted onto silver mirri (to hide the back of the brads).And then I got Rachael to sign where you pull the tab to animate the waterfall.
So that's it. Thanks for looking!
This is another card that I made for Holly - this one was from Ma & Da so therefore for their Grand-daughter!
It's another image from Joanna Sheen's Baby Love CD and this time I punched out the face of the angel from the unused largest image using a square punch and another from some mount board. I mounted the picture up and tripple embossed it using holographic powder to give it a really nice sparkly effect. I coloured around the edges to correspond with the colour of the card and then carefully attached it to the main picture. I also painted the wing with a white H20 paint.I mounted the image onto the matching backing paper from the CD and some mirri card along with some cream feathers sticking out from behind.I made up an embellishment using some more of the feathers and stamped and embossed a flourish stamp - with white powder on pink vellum and with pink powder on white vellum. I cut around these and attached them to the feathers with wire. I tied a ribbon around the wire and curled a little flower onto the ribbon (this used to be for your hair!). I attached the embellishment using silicone glue.I added the sentiments which were printed and mounted on mirri card, and in the words of Gordon Ramsey - Done!
This is the first day of advent and I thought I'd just get my blog into the christmassy mood and updated my blogskin.Hopefully after christmas I'll remember how to change it back!!!So let me take this oppurtunity to wish you a very merry christmas!