
Sorry I haven't been around for so long, I think this has been my longest break from blogging yet!
I started making christmas cards that I couldn't post on here til they were sent out and then with the weather the way it was before christmas the post was slow, so I got out of the way of going blog-wise (ie. I was lazy and couldn't be bothered! lol).
Anyway, I've been wanting to get it going again but have been so busy. I've been asked to make the stationary for 3 weddings this year - with 2 of the weddings on consecutive days, so I've been stressed out just thinking about making the stuff for them! What am I gonna be like when I actually get stuck into making them? I'm hoping I'll get the stressing out of the way now so I can just get on with them when the time comes! It wouldn't be so bad only I work full time, so I only have the evenings to get cards done. I also have more breaks booked for this year than I ever had so I have to factor those into my timescale - but I'm sure I'll fit them in! lol!
The last break is after all the weddings are over, so it'll be well deserved - except that I'll have to start my christmas cards as soon as I come home...no rest for the wicked!
So to get back to my blogging I suppose I may get caught up on what I've already made and I might as well get the christmas cards out of the way, so I'll do that with this post...
The first ones I made were for my niece and nephew, I thought having the same design would cut down on arguements!
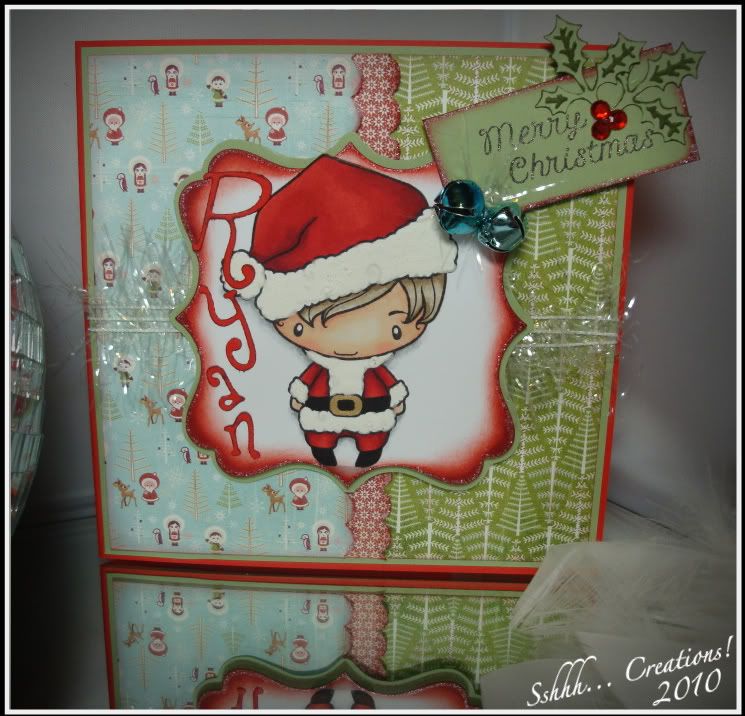
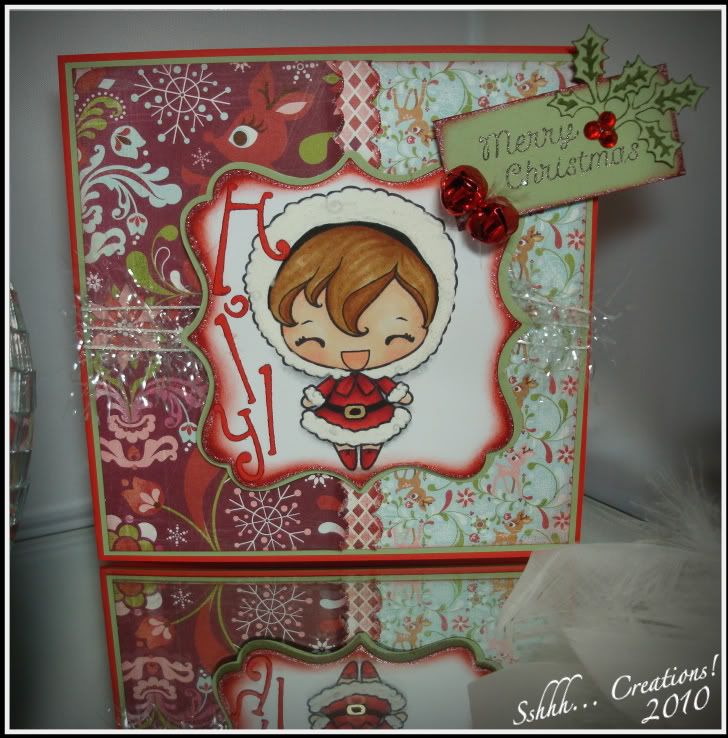
I used Basic Grey "Eskimo Kisses" paper and The Greeting Farm stamps, coloured with my copics and I used some of that foamy pen stuff (thats the technical term!lol) on the furry bits. I added a couple of jingly bells for a bit more interest.
This is the card I made for their mummy and daddy (ie. my sister and her hubby)
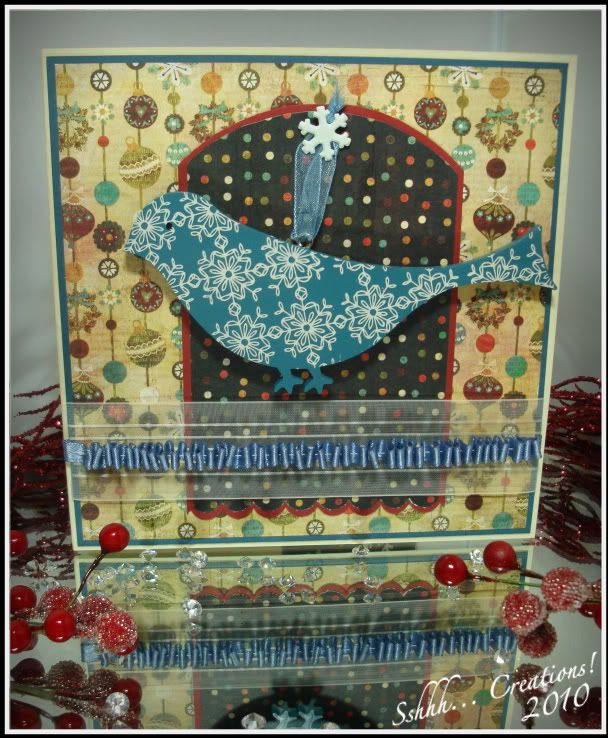
I swiped a christmas decoration off the tree that I had to redecorate at work (we think the grinch came during the year and tried to steal christmas as all the decorations were gone off the tree, so I had to go out and buy new ones :D ) and used it for the focal point. The papers were from the Basic Grey "Jovial" paper pad and I ruched some ribbon along the bottom.
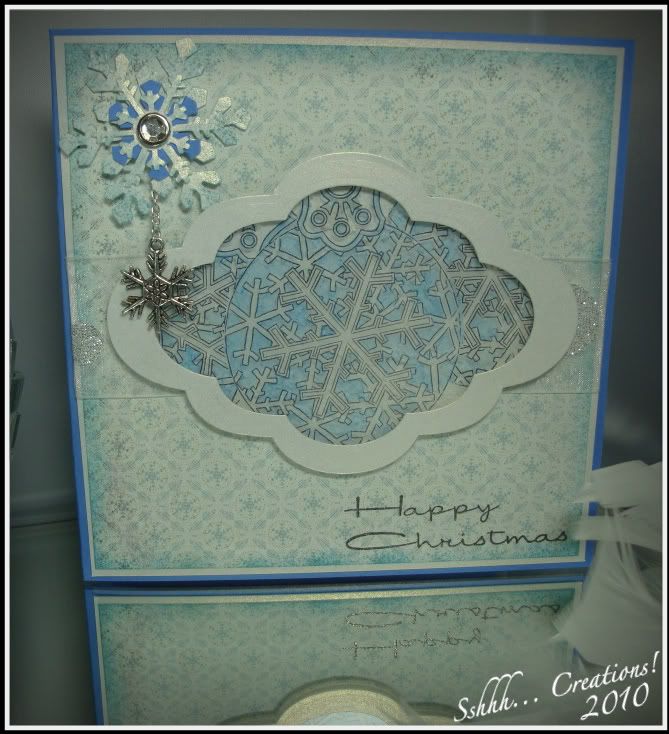
My other sister got a shaker card
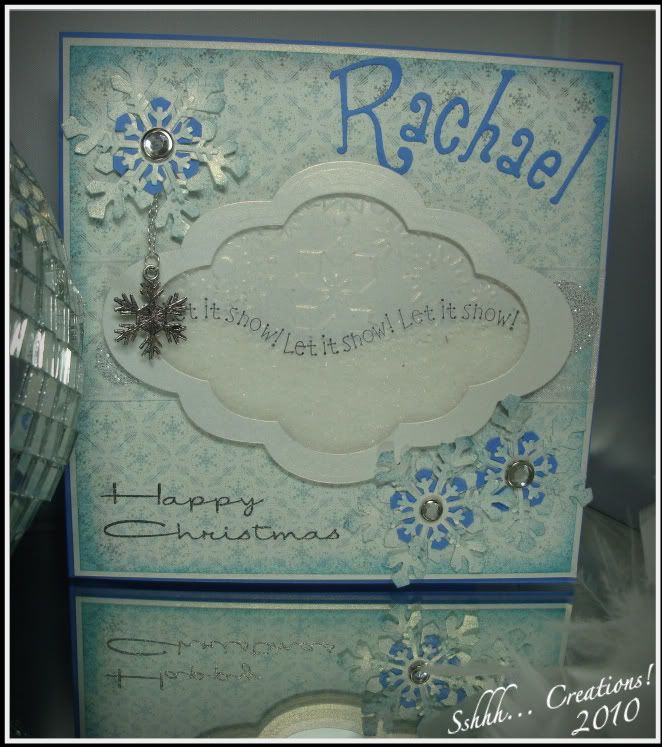
I embossed some card with a snowflake cuttlebug folder and then cut the shape with nesties. I stamped "Let it snow, let it snow, let it snow" with stazon on some acetate before attaching to the shape and filling with flower soft. I can't remember what paper I used.
I made a pop-up for the centre that I saw on Dawny P's blog. Hers were flowers but as soon as I saw it I thought I had to do it with snowflakes!
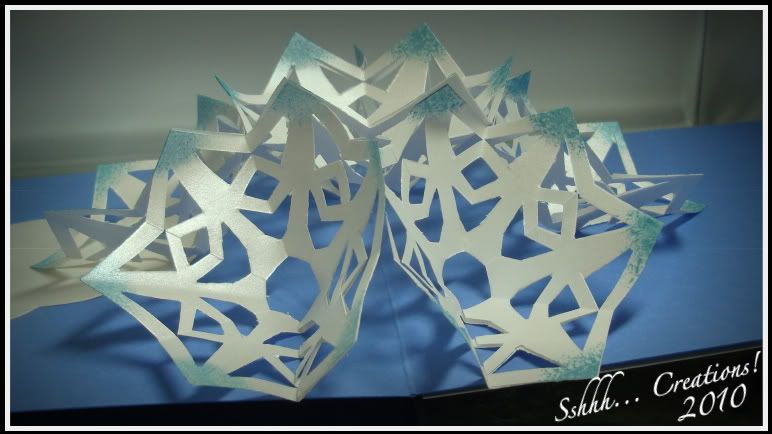
I made a similar one to this for my granny, but I stamped baubles onto the acetate instead
My brother is a challenge at the best of times :p but when it comes to cards it's just that little bit more! So when my Magnolia stamps arrived and there was a cutie Edwin all dressed up as Santa, I had to use him for my brother!
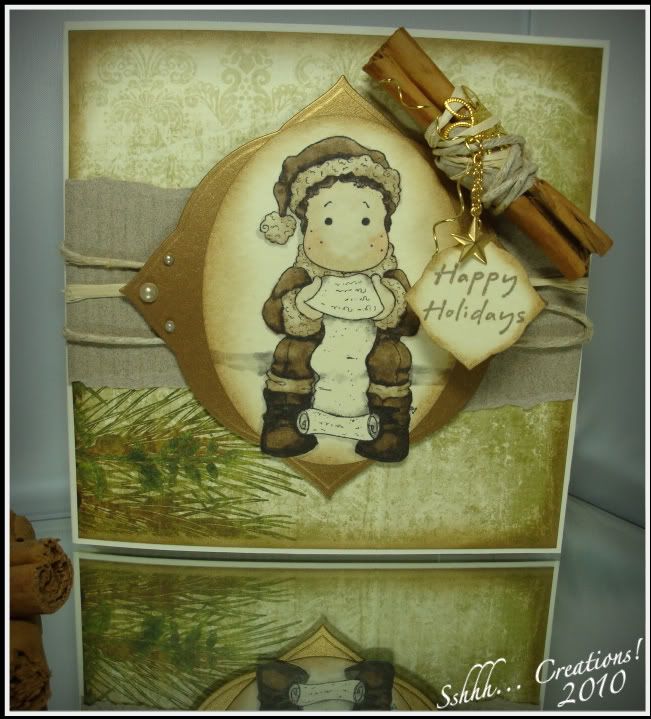
I added the cinnamon stick and wire etc. and then discovered that the front was too heavy so had to decorate the inside
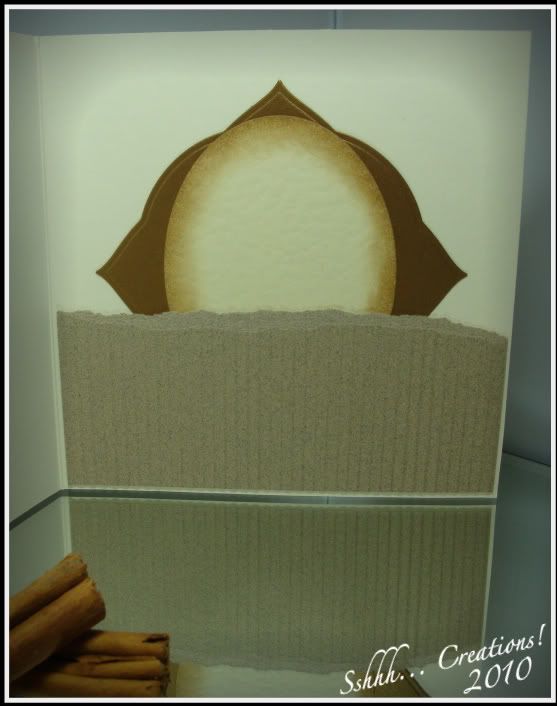
I used my new ribbler thingy on this card, so that was fun! The paper was Bo Bunny.
Stick with now, I'm almost finished!
The next one was for my parents. My ma is definately one for a bit of bling, so on that basis, this is what I made
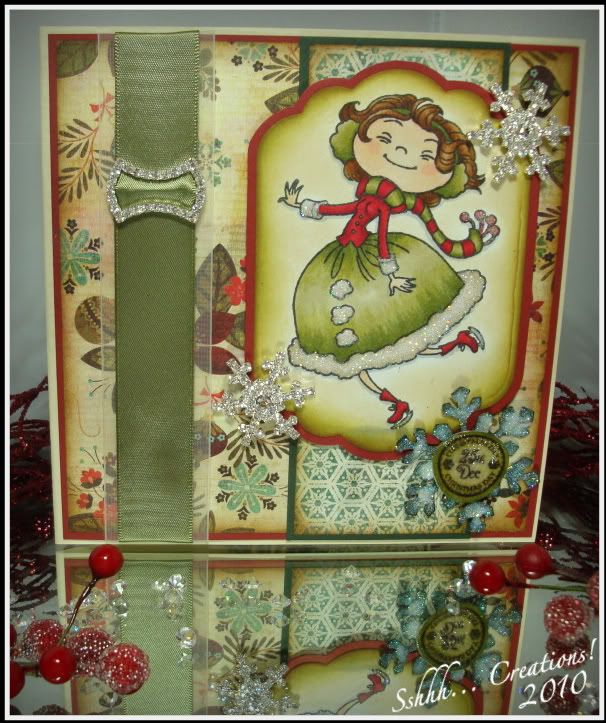
The stamp is a Kraftin' Kimmie coloured with copics and the papers are from Basic Greys Jovial pad the bling all came from a local craft supplier.
For my best friend I was inspired by the weather!
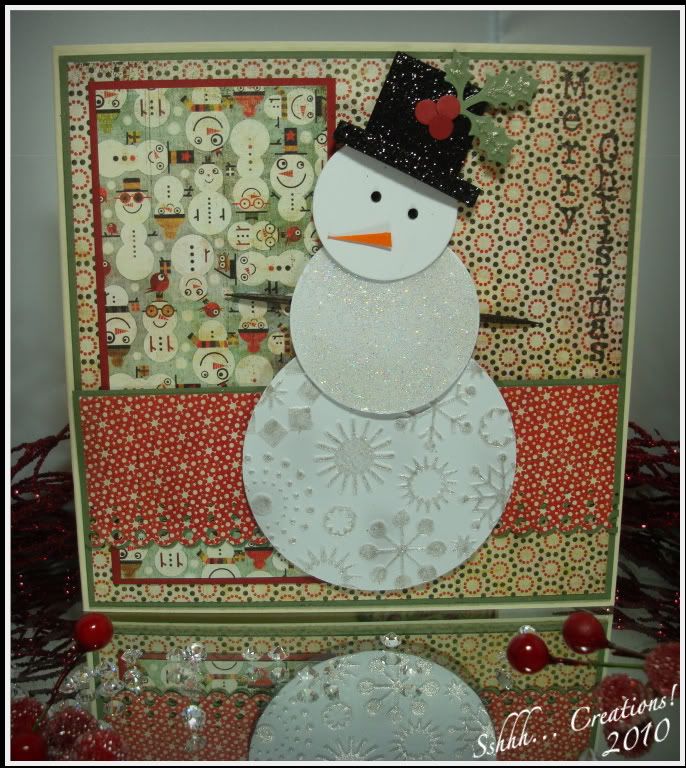
I cut 3 cirles out of white card with my nesties and embossed 2 of them with 2 different snowflake embossing folders. I coloured the snowflakes on the biggest circle with a glitter pen and I coated the middle circle (which was embossed with the spotty snowflake folder) with glossy accents and sprinkled with glamour dust. I cut a square and small, long rectangle out of black card and coated with black glitter to make the hat. Once the snowman was all assembled I added a cutting of orange card for the nose and 2 black swarovski's for the eyes. I coloured a tooth-pick with a copic and shoved it in behind to finish it off. The paper was BG Jovial again.
So for everyone else that I had to post to I decided to use the same design, I just made a few in each colour.
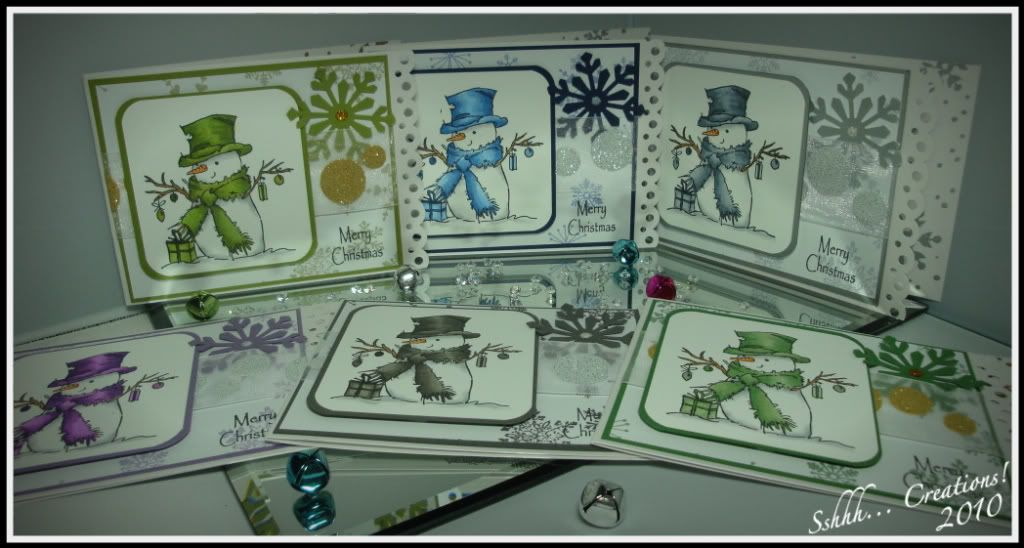
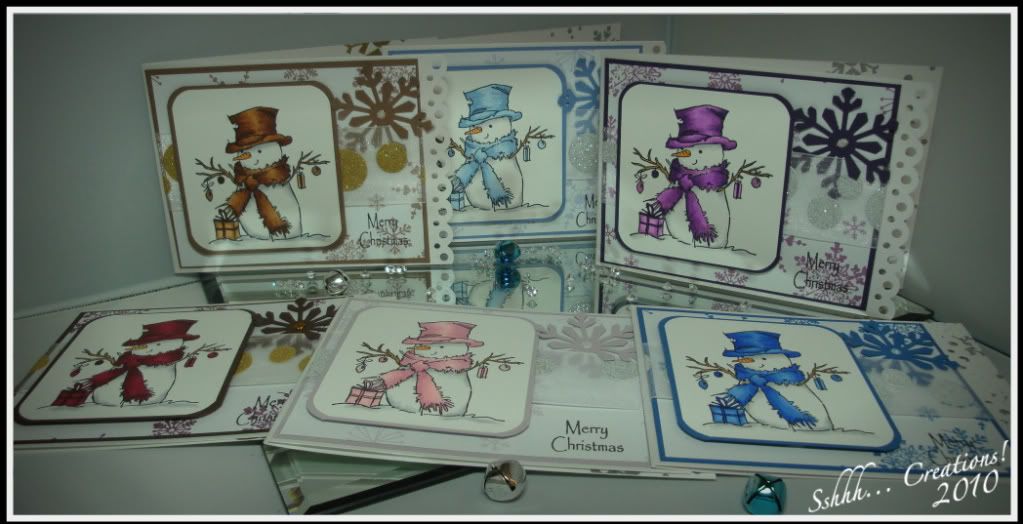
I made long A6 cards and used a Martha Stewart punch down the front edge. I used a Stampin' Up! snowflake wheel stamp along the edge on the inside and embossed with either silver or gold embossing powder. The snowman is from Lily of the Valley and the paper is printed - Pink Petticoat large snowflakes. Some ribbon from my local craft supplier and a Martha Stewart large snowfake to finish.
Phew! That was a long post! Well done if you stuck with it to the end!
I hope you liked them, thanks for dropping by!
2 comments:
Welcome back Sheena, we've missed you. I must say that the cards all look stunning altogether in one post. And all the snowmen ones at the end are gorgeous :)
Hi Sheena! How wonderful to see you back sweetie, you have been missed!
Wow wonderful cards, I loved them all and yes, I did stay with it until the end (do I deserve a special prize for that? LOL!)
lol Chrissie xx
Post a Comment