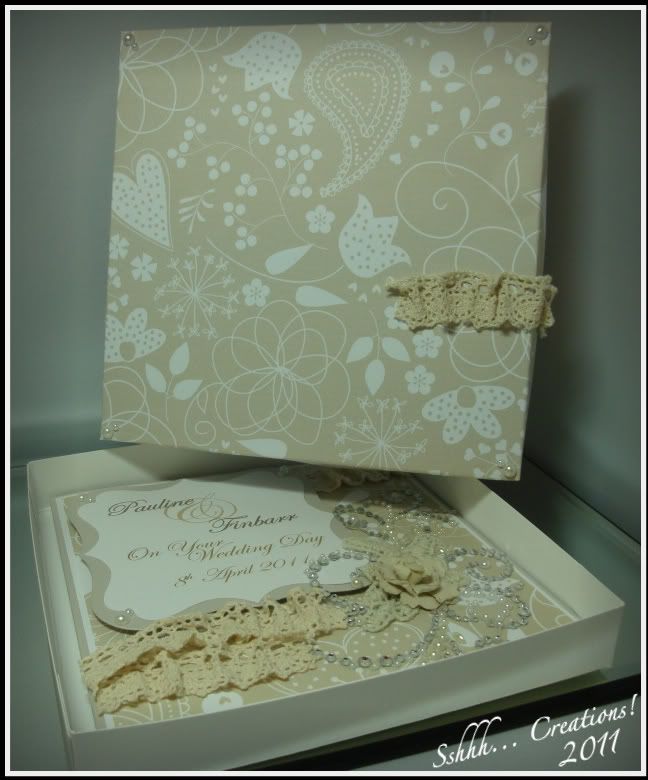
*Warning* This is a really looooonnnnng post!!
I wanted a gift bag to match a card that I had made, and I wanted it to be a good sturdy bag, so this is how I made it...
Materials
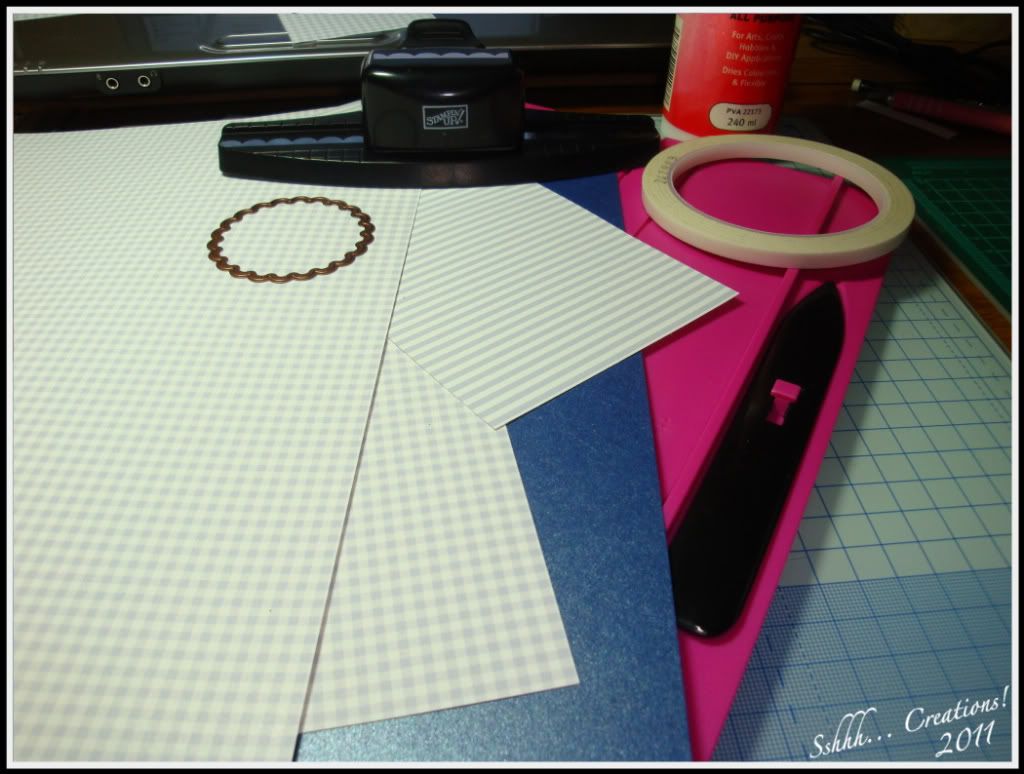
You will need:
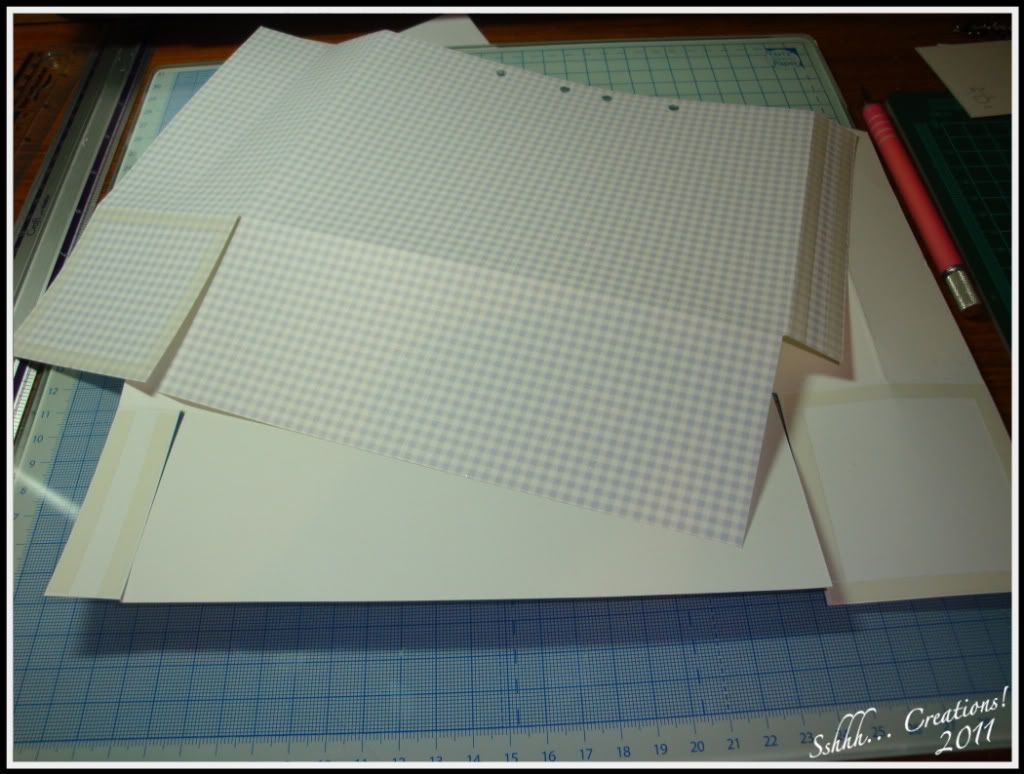
2 A4 sheets of card for the basic bag - I've used Pink Petticoat, Gingham printed onto card.
some corresponding card for decoration
A scoring board
Adhesive - I use DS tape and a wet tacky glue.
Edge punch and scalloped circle nestie for decoration
Some ribbon and beads for handles
Making the bag...
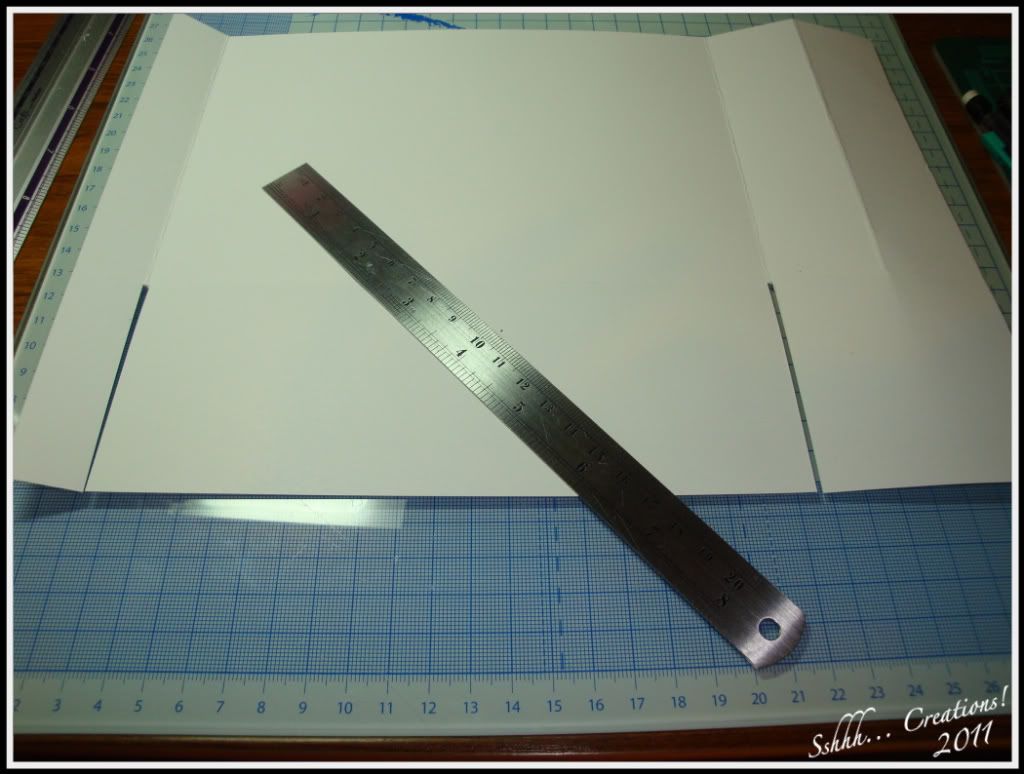
Taking the card you want for the base of the bag, score the length and left side at the A5 gatefold mark (2 15/16" or 7.4cm)
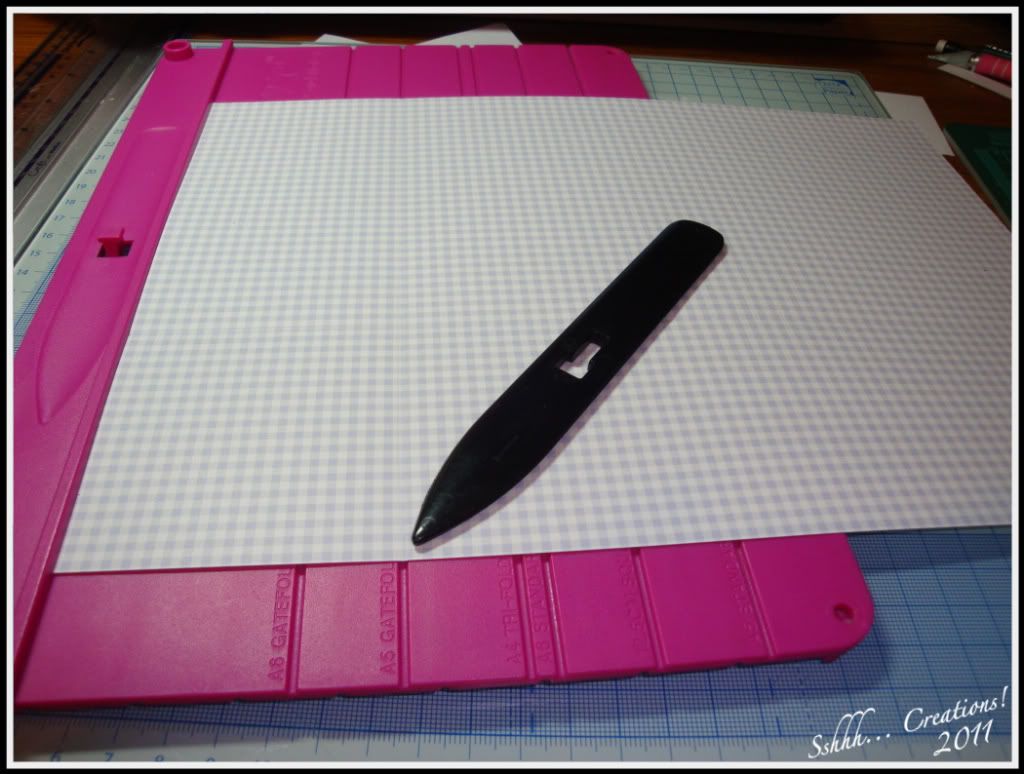
I then scored the right side on the first line of the “box base” on the back of the board which is 7/8” or 2.2cm

Fold all the score lines
Find the centre of the left section (1 7/16” or 3.7cm) mark discretely & score from the top of the card to the score mark. Fold this line from the top until near the bottom – this line is to ensure the bag closes at the top and helps it to look more like a bag than a box!
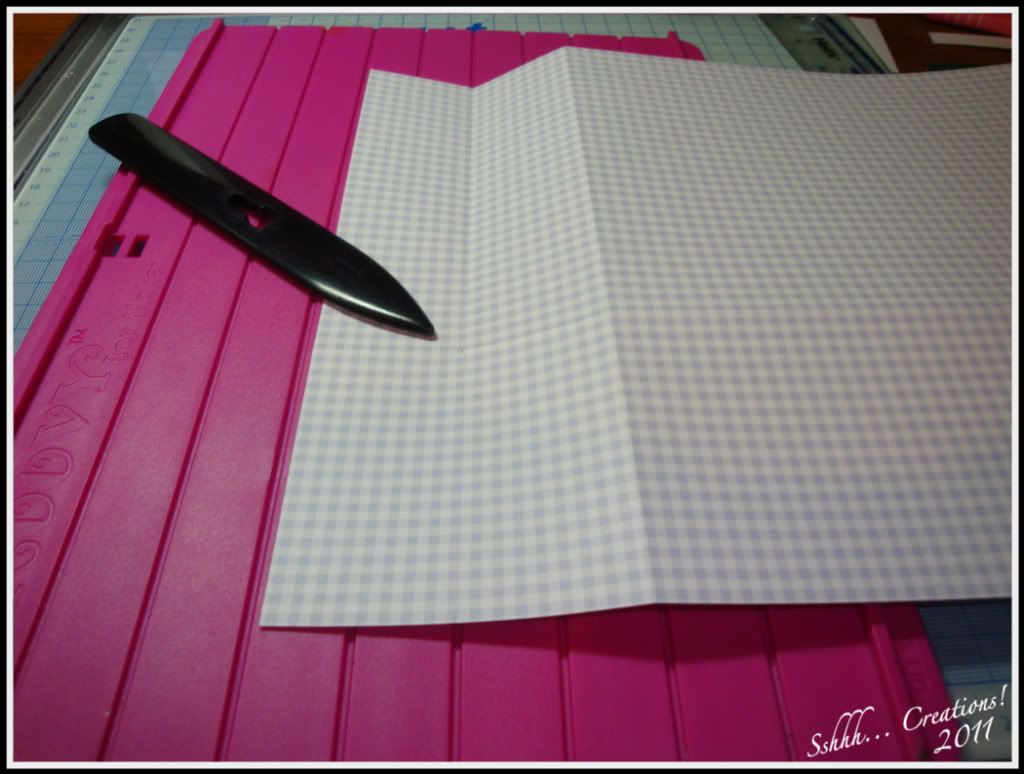
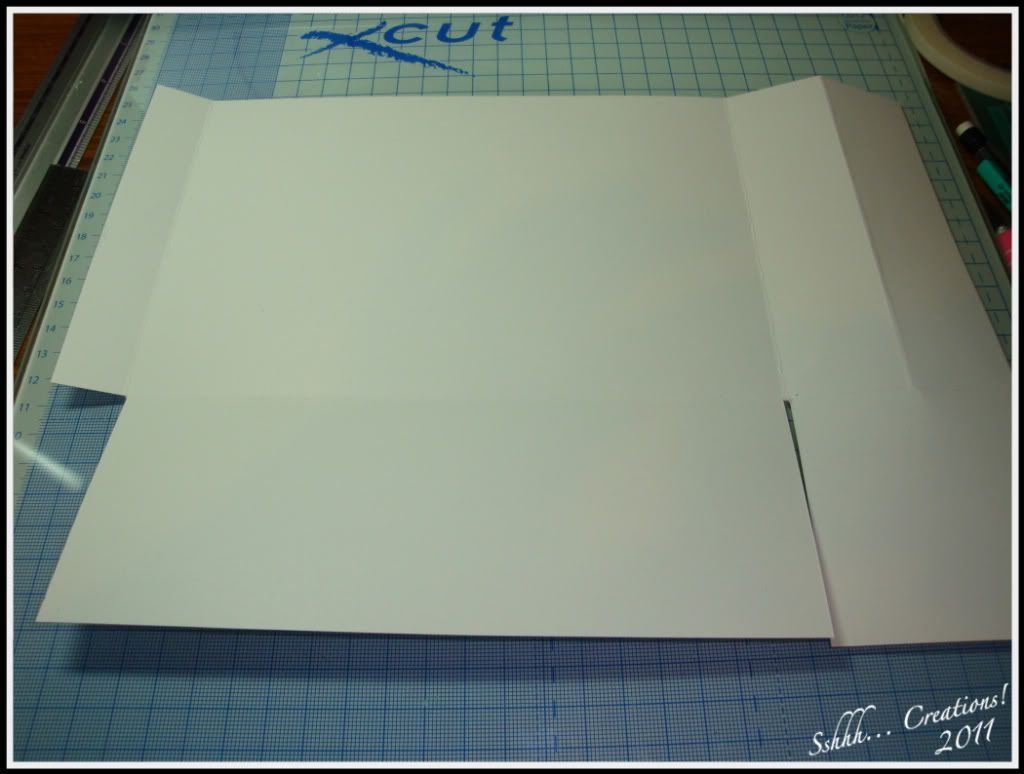
Repeat all score lines on your second sheet making sure they are on the same side of the sheet.
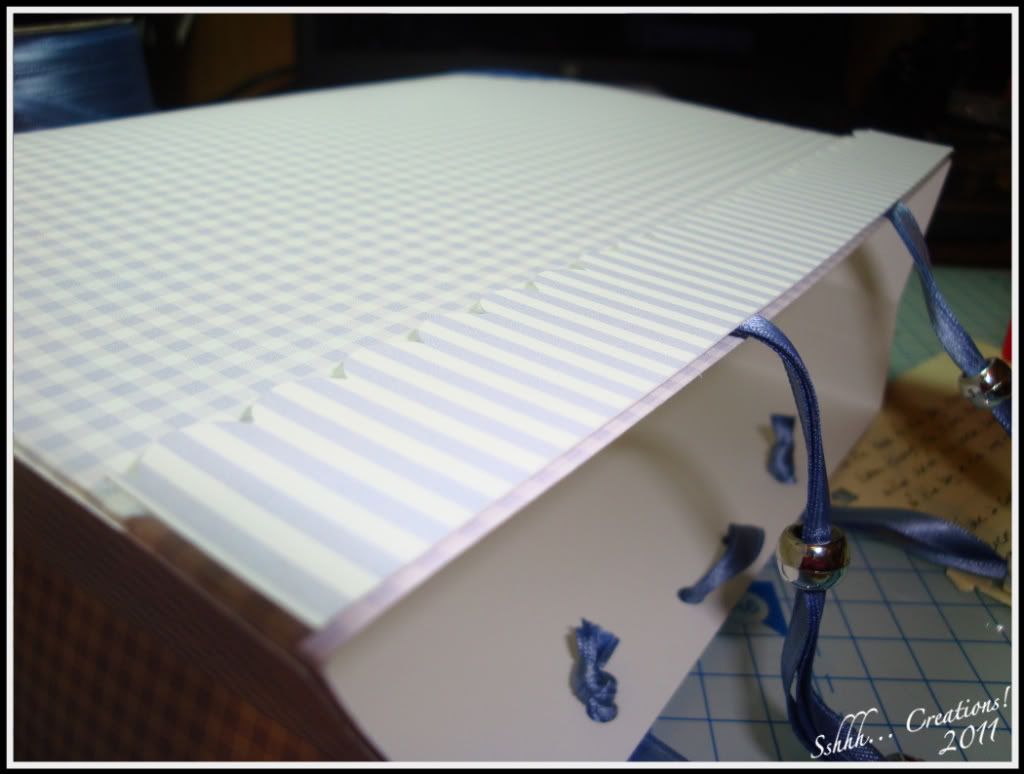
Take one of your sheets and cut to make a tab – it makes it much easier later if you cut a notch out by cutting either side of the score line.
Repeat on your second sheet but completely remove the smaller tab
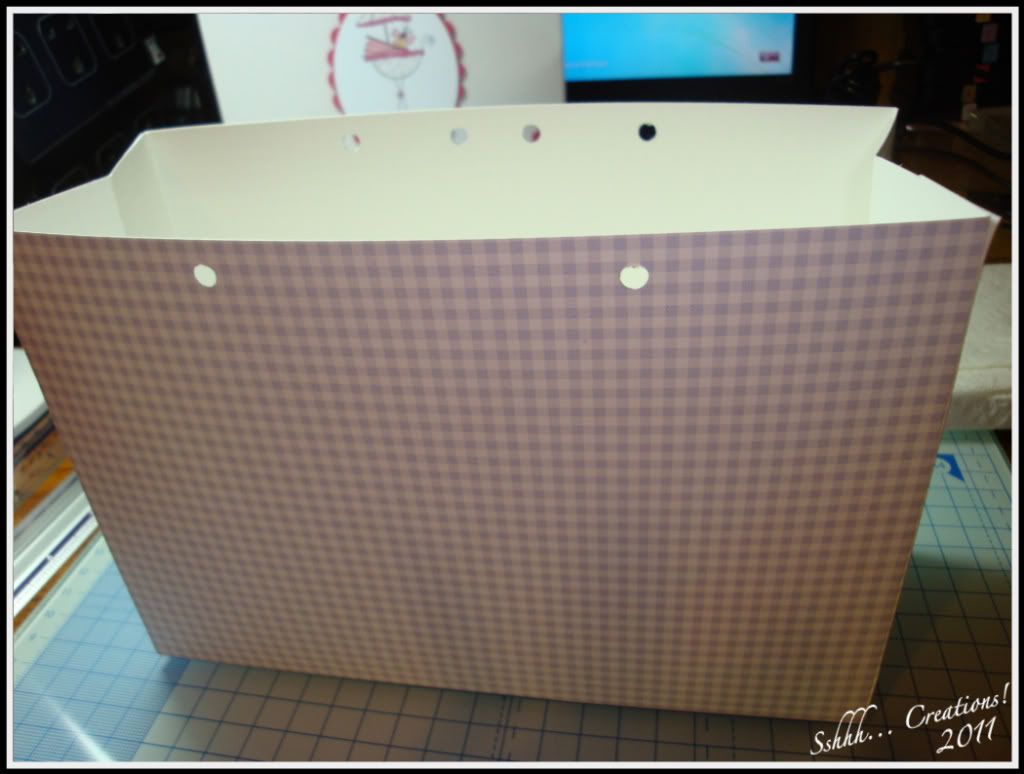
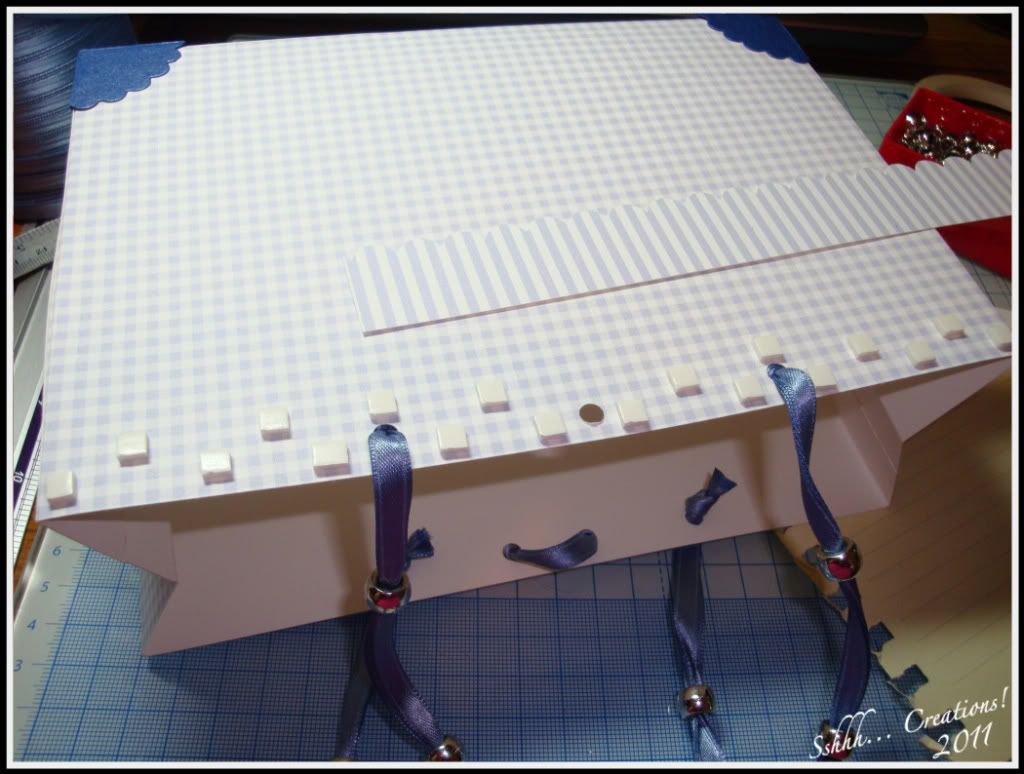
Measure where you wish the holes to go for handles. I find the easiest way is to measure the top front of the bag (which should be 20cm) and find the centre, mark equally to each side of the centre and a hole in the centre (I added the centre hole after I took the photo!)
Repeat the holes for the handles on the other sheet but instead of one hole in the centre, make two holes just either side of the centre
I punched the holes with my crop-a-dile. The holes can be re-inforced by sticking a circle of card where the holes will be and punching through both layers.

Now for the tricky bit
Apply DS tape on the patterned (outside) side of the sheet with the smallest tab removed, on the right section and on the smaller of the two remaining tabs.
On the other sheet (with the small tab) tape the white (inside) of the two smaller tabs and the patterned side of the right (small) section.
Stick the tabs to the larger tab adding the wet tacky glue for strength. Make sure to keep angles straight.
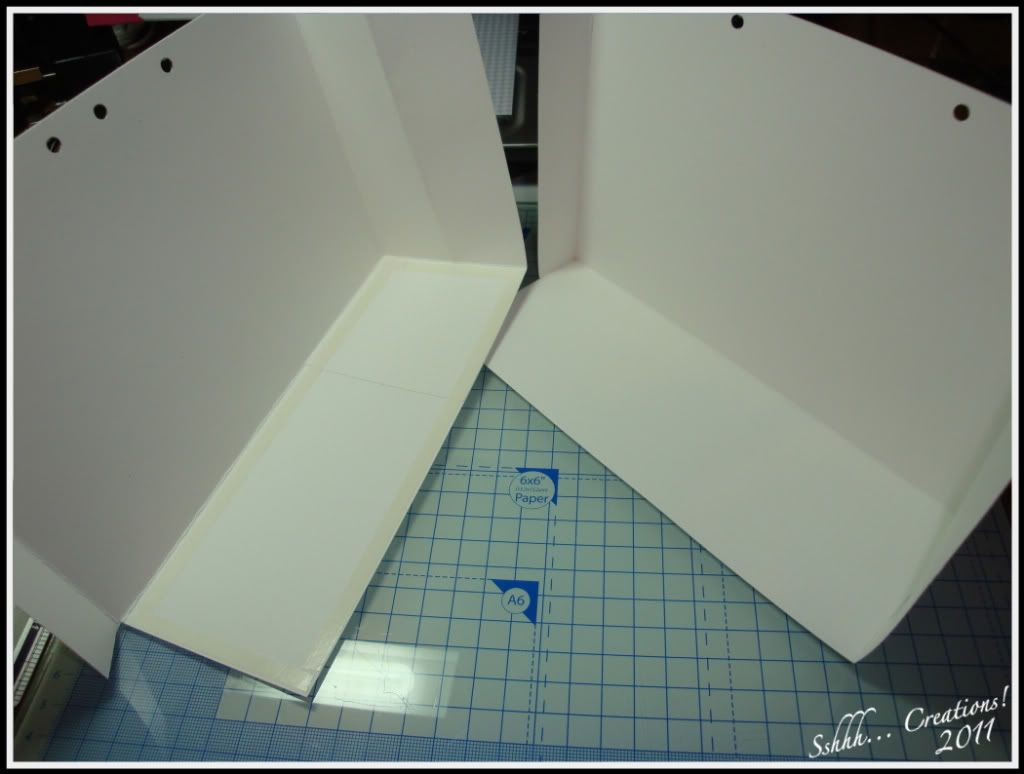
Add tape to the white side of the bottom of the piece with the small tab removed. Stick the other piece onto it keeping the side tabs to the inside of the bag and make sure you get right into the corners as close as possible. Again use wet glue as well as tape for strength.
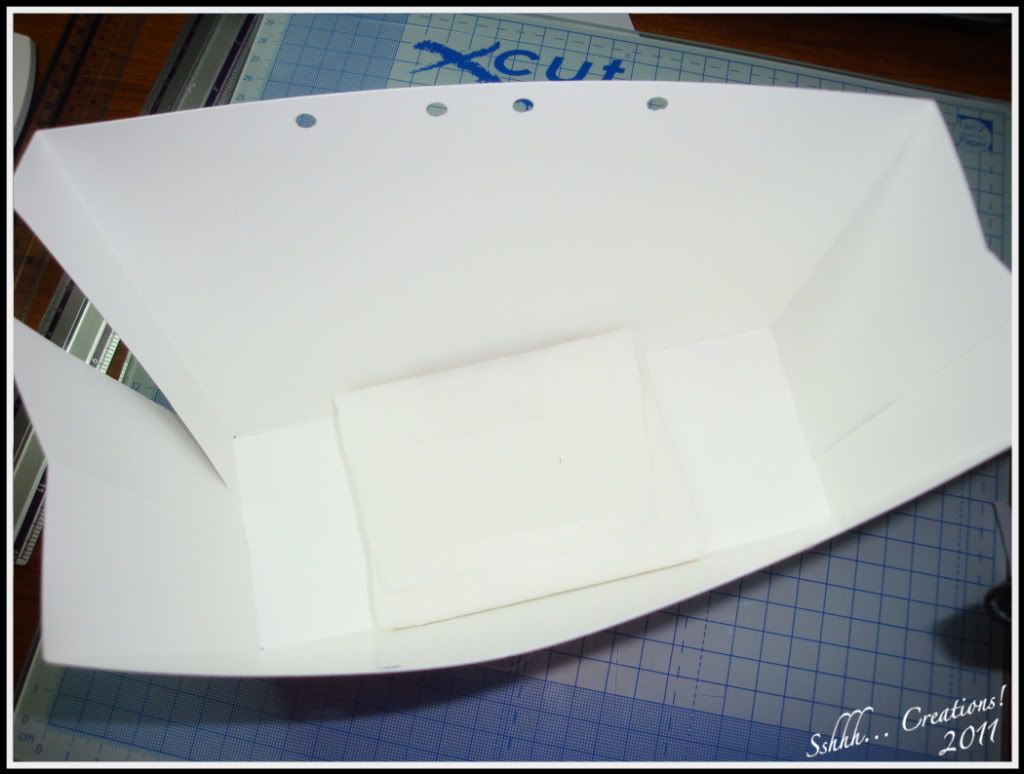
Run something heavyish over the bottom to make sure it’s all stuck down properly, I used an acrylic block (covered in kitchen paper – from previous experience of an inky block!)
Then attach the sides – don’t forget your wet glue!
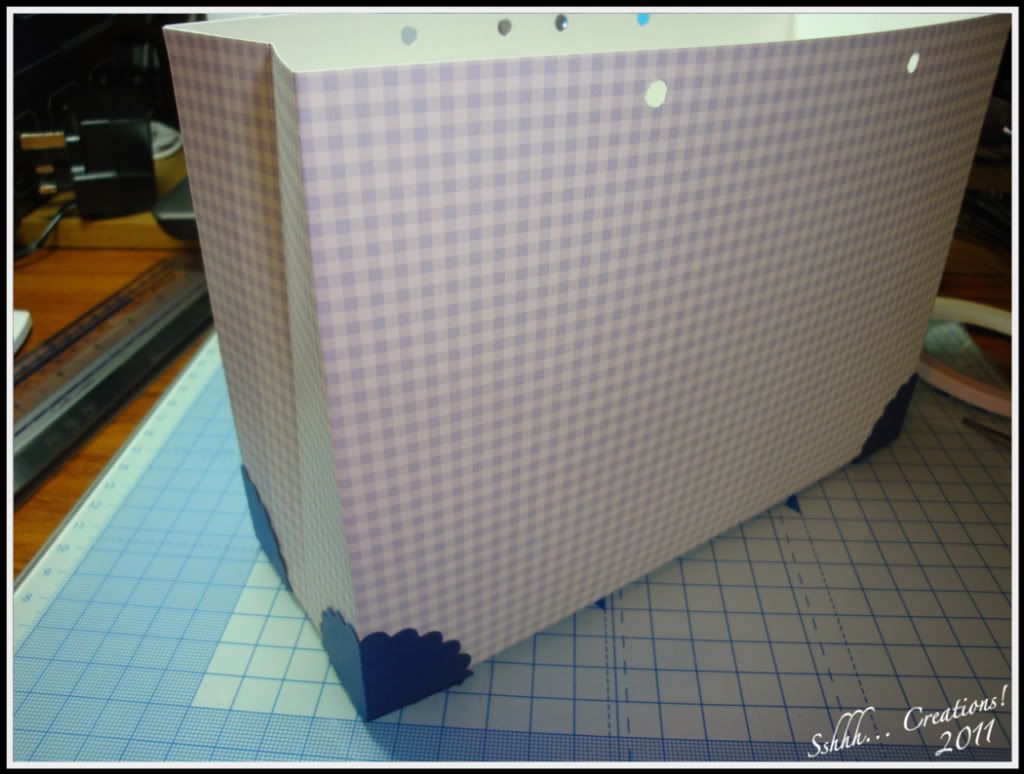
And the base of your bag is finished!
Now to decorate it...
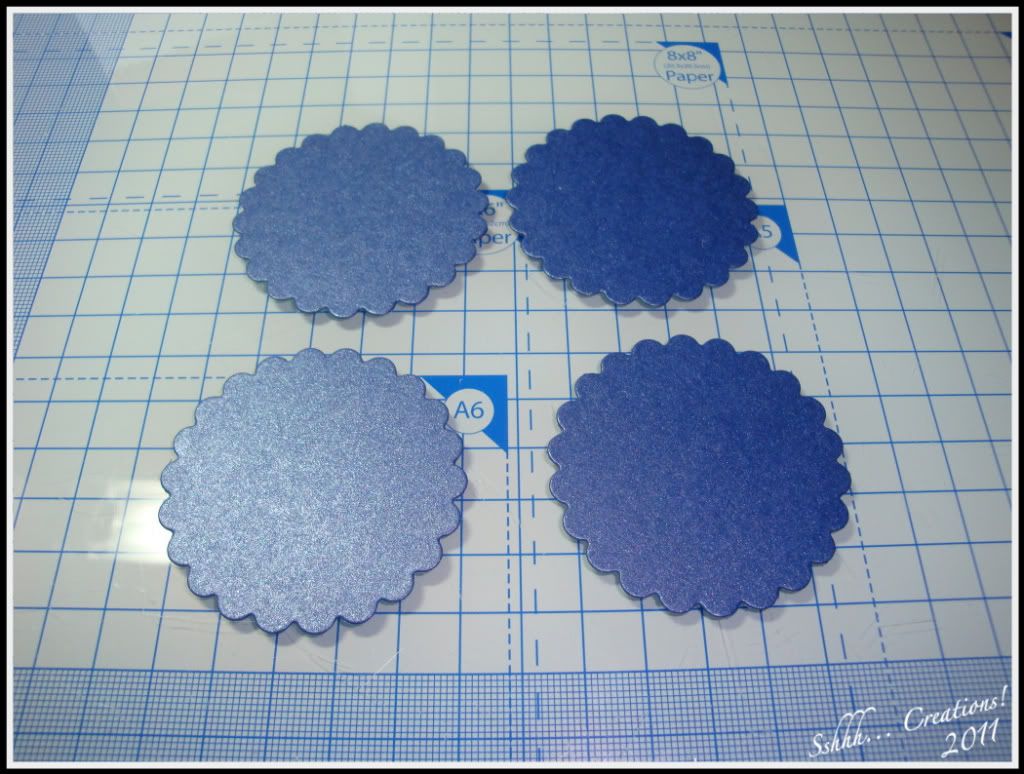
Cut out four circles – I used the second smallest of the large scalloped circles nesties. You could use a punch or some of the labels can be lovely – as long as the shape can be quartered, it’ll work.
Score each circle into equal quarters and cut one of the score lines to the centre.
Apply tape and fold and stick one quarter over the other to create a corner shape.
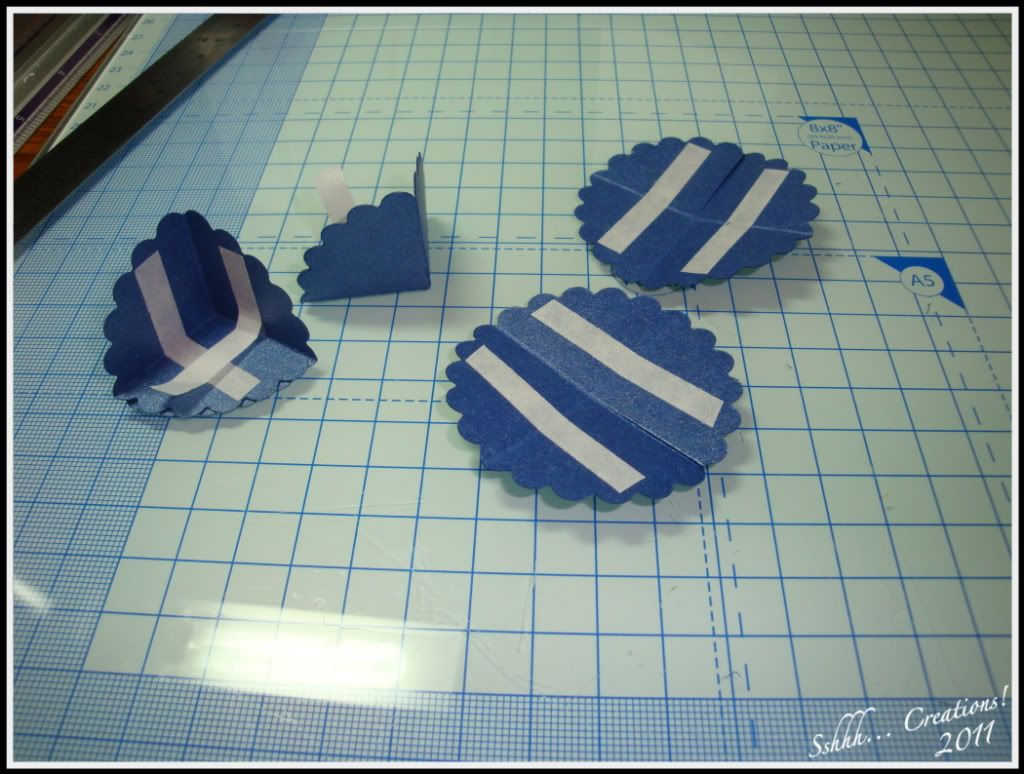
Attach the corners to the bottom of the bag. Make sure the double layer is at the bottom.
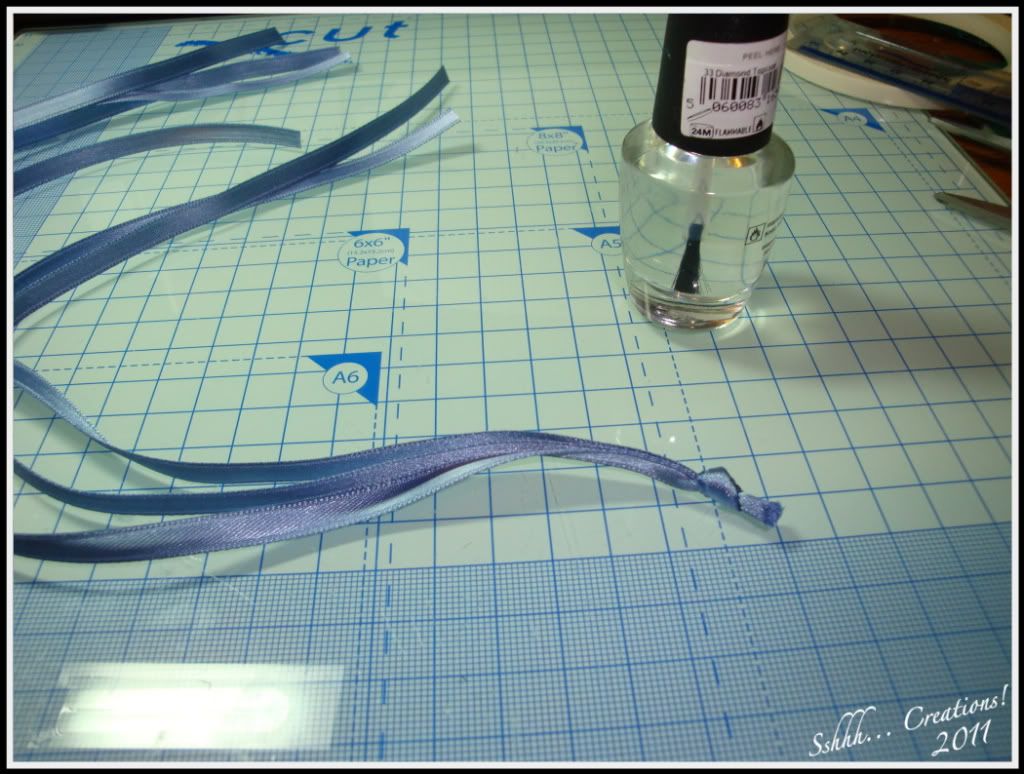
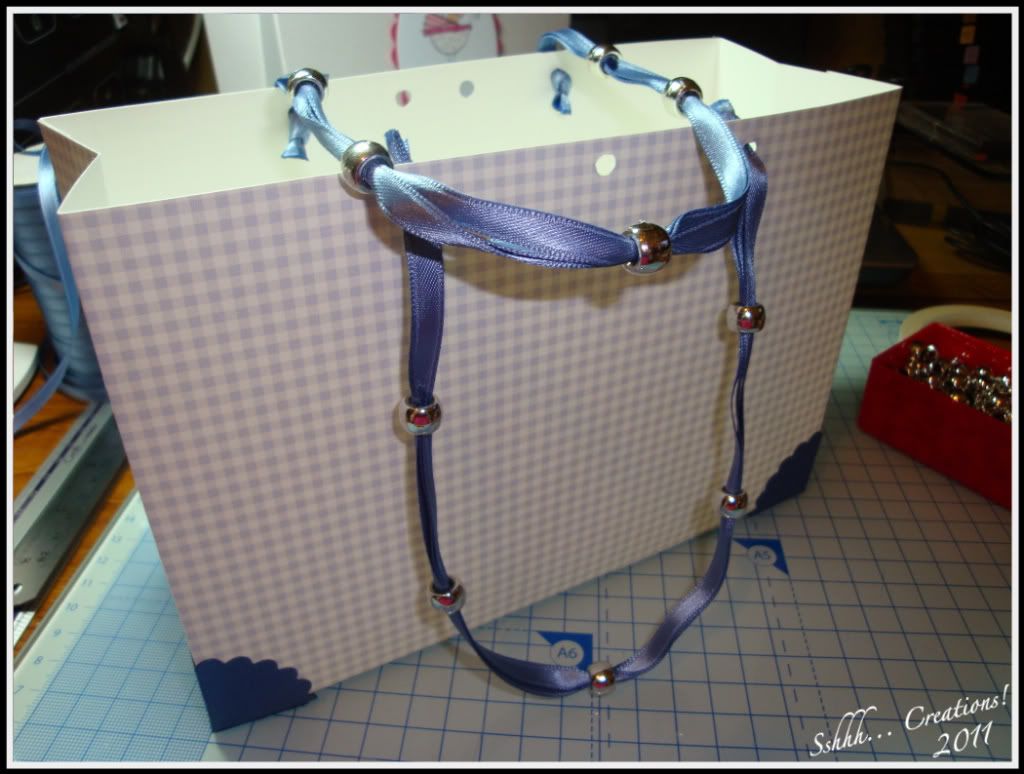
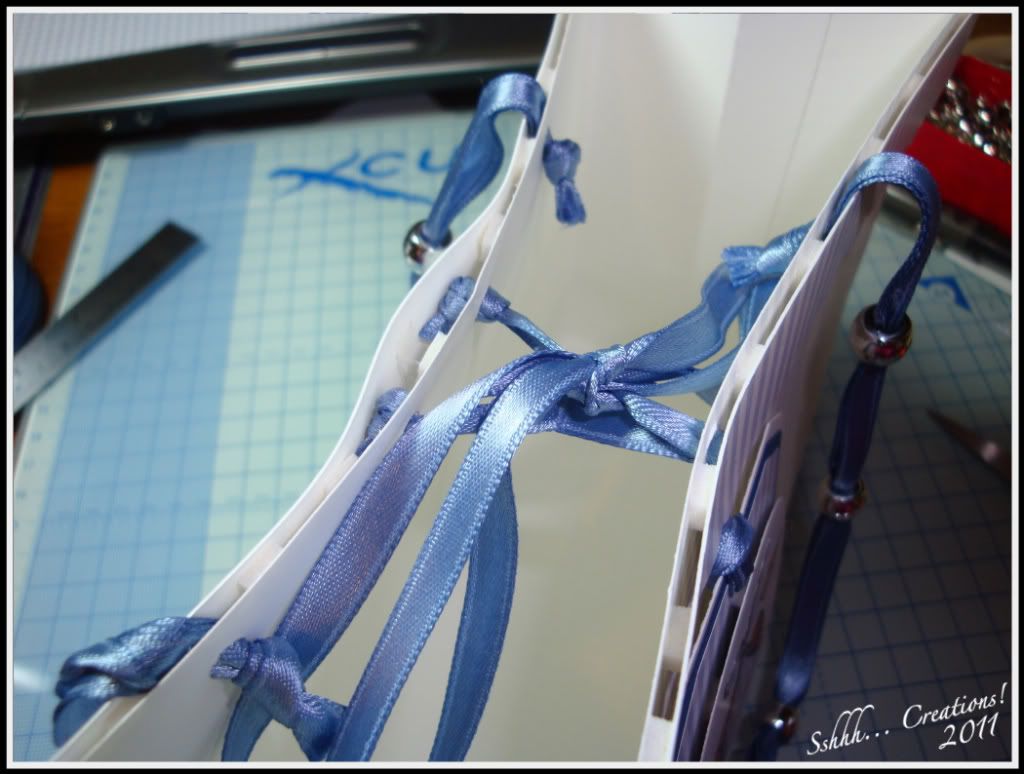
I’ve used ribbon for the handles, but I’m sure there are loads of other things that could be used. As this is quite narrow ribbon, I’ve used 3 lengths for each handle, so cut six 15” lengths of ribbon. Take three of the lengths and tie a knot at one end. I’ve painted a small amount of clear nail varnish over the ends to stop fraying.
Thread your bunch through one of the outer holes from the inside of the bag to the outside. Then thread on some beads and feed back through the hole on the opposite side and tie and knot and apply nail varnish. Repeat with the other handle.
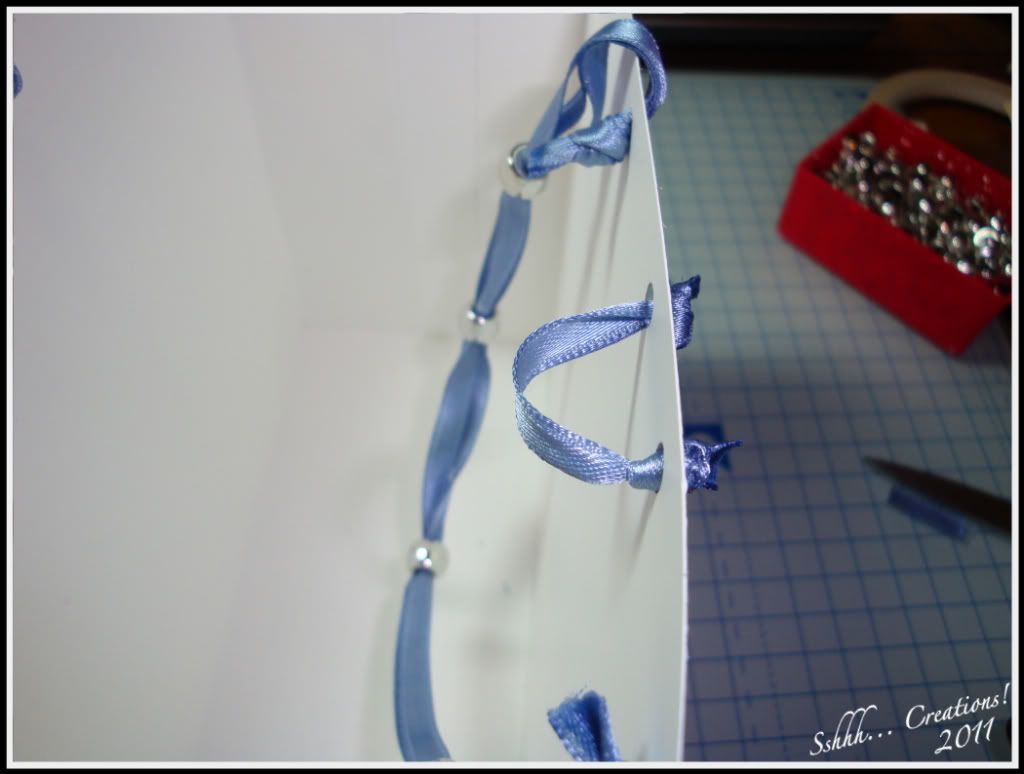
On the back of the bag, thread a small piece of ribbon through the two holes that were made just either side of the centre, knotting to the outside of the bag with the loop inside the bag.
Take a contrasting piece of card and trim to 20cm across (ie the width of the bag). Use a fancy punch along the 20cm and trim to 2 - 3 cm. Make two pieces the same.
Attach to the top of the bag with foam pads. Apply the pads to the bag rather than the strip so you can avoid the ribbon etc on the bag.
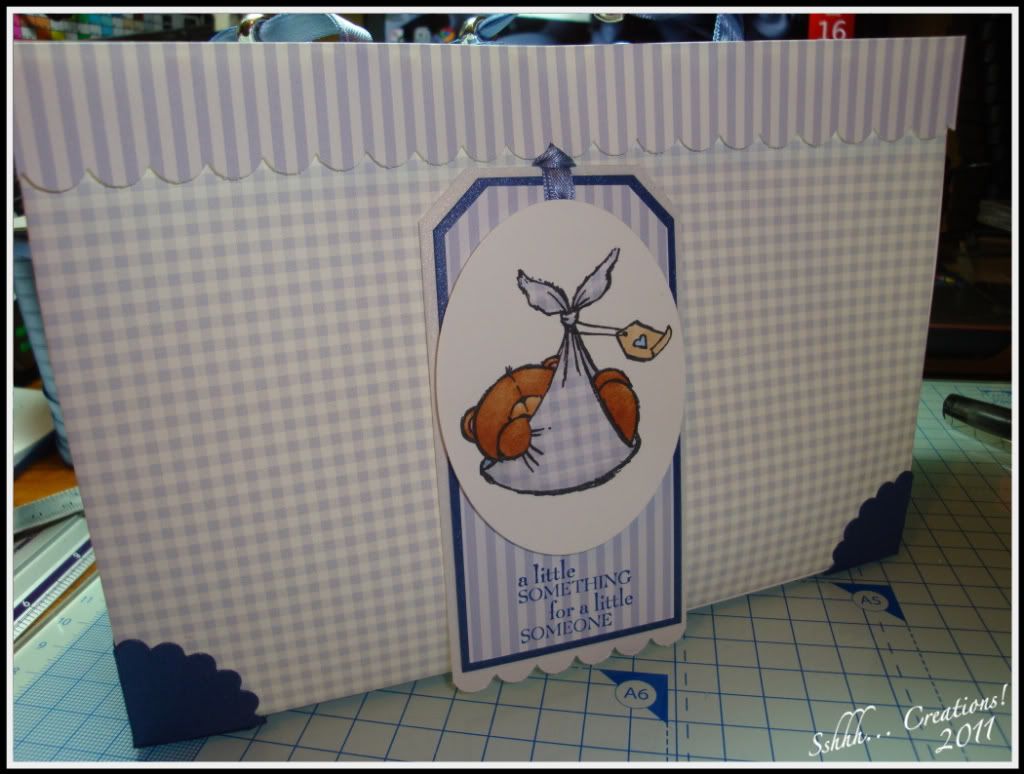
Last of all is to feed the ribbon attached to a previously made tag through the middle hole under the decorative strip to the inside of the bag. This can then be used to close the bag through the loop on the back. If you don’t want to use a tag then tie two pieces of ribbon in a knot at one side and thread through the hole in the same way.
And the bag is finished!
Hopefully I haven't made it sound too complicated, a lot of it will make more sense when you're actually making it, they're easy enough to make.
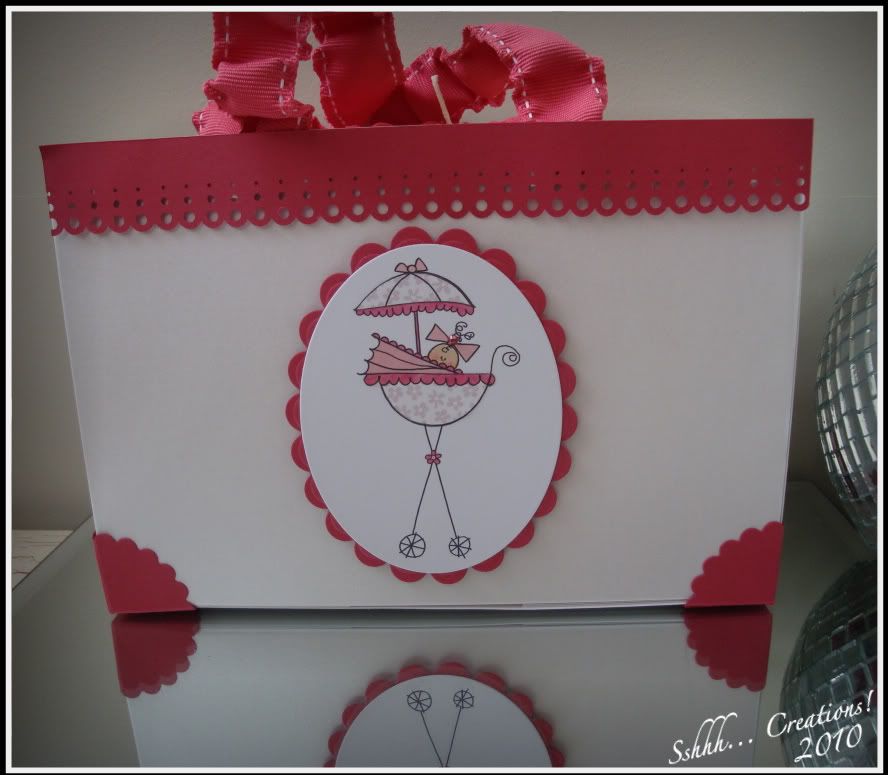
Here’s another one I made
They are big enough to fit 2 pillar candles standing up – and strong enough to carry them!
Thanks for dropping by!